
Date
Tue Oct 6Siding caulking maintenance helps keep exterior joints in good condition, but caulk is not a substitute for sound siding, flashing, or drainage. In Puget Sound, rain and seasonal temperature changes make it useful to check exposed joints periodically. A careful visual inspection can help you spot gaps early and decide whether a joint needs attention or a professional assessment.
Where does siding caulking maintenance start?
Start at transitions where two different materials meet. Caulk is commonly used at selected joints around windows, doors, trim, corner boards, and penetrations. The exact locations depend on the siding system and installation details. Some joints are meant to remain open for drainage or movement, so do not assume every seam should be sealed.
Walk around the home from the ground. Look at the joint between siding and window or door trim, where trim meets a different material, and around visible penetrations such as pipes or utility fittings. Check corners and horizontal trim transitions as well. Use binoculars for high areas rather than climbing a ladder to inspect them.
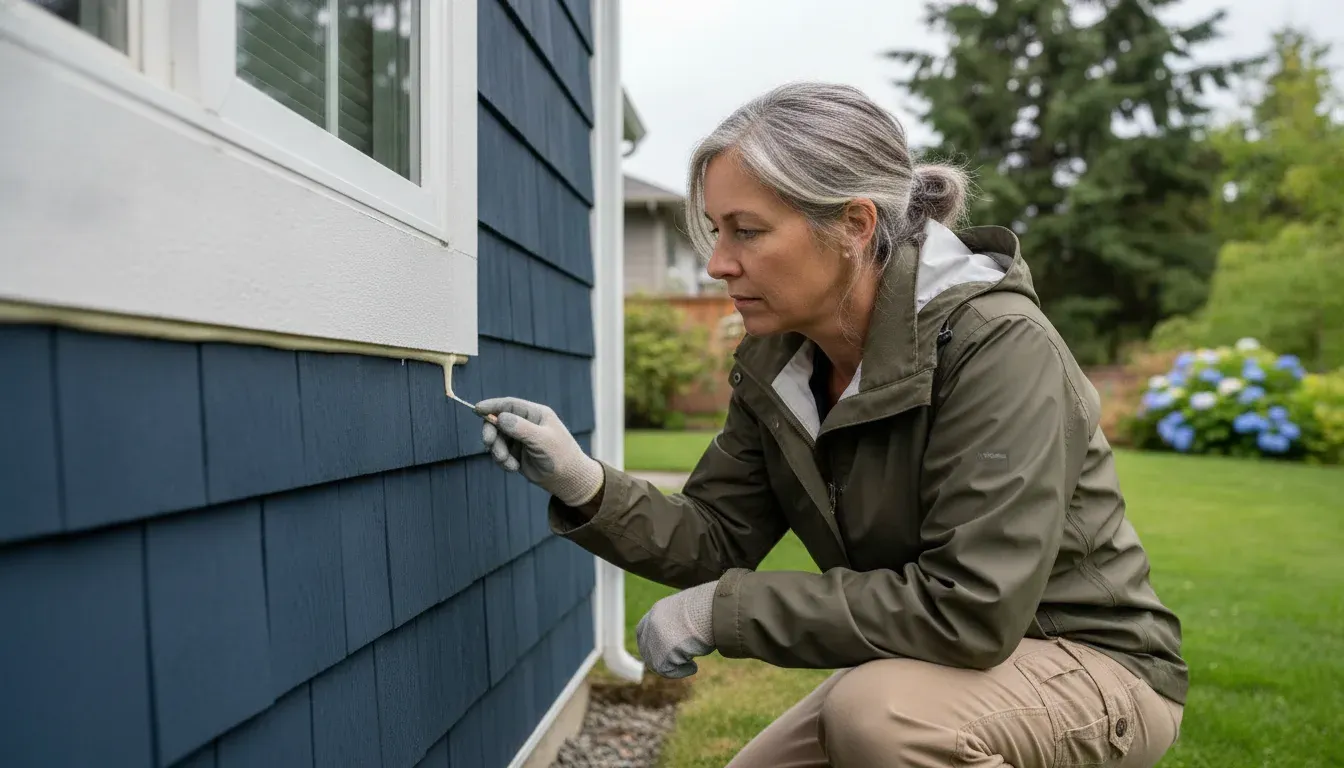
Make the walkaround systematic. Begin at one corner and follow the exterior in the same direction, noting each elevation. Check sheltered walls as well as the sides that receive more wind-driven rain. Compare similar joints: one intact window perimeter can help you notice when a nearby bead has pulled away or split. Do not push a tool into a gap or pull at loose-looking siding to test it.
Note the joint location and take dated photos from the ground. If you are unsure which siding material is installed, Landmark’s overview of residential siding options and services is a useful starting point.
Where siding meets wood trim or masonry, the correct joint detail depends on the assembly and project instructions. Do not assume every edge should be sealed.
What are the signs that caulk has failed?
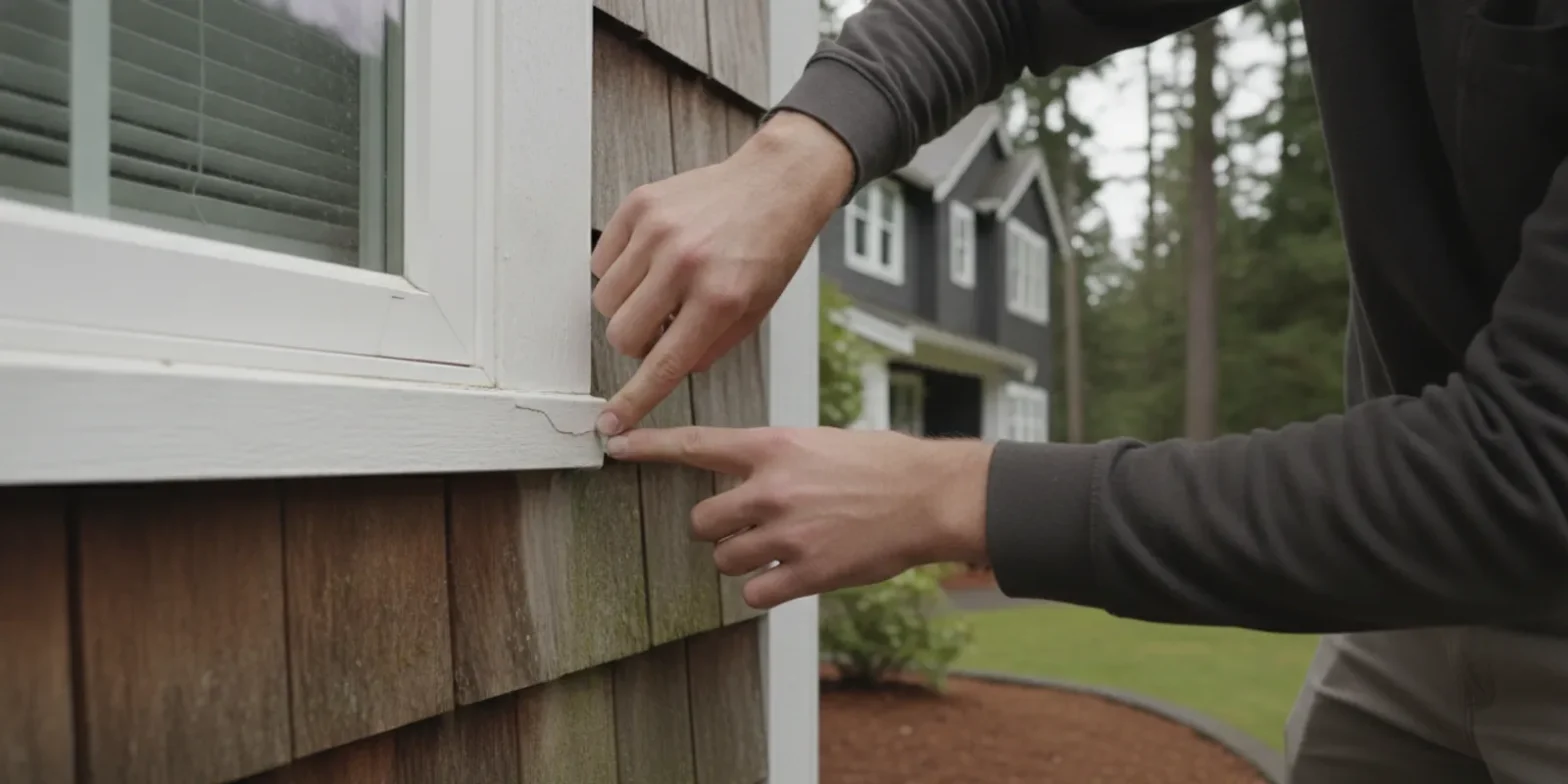
Caulk can lose adhesion or split as the joint and surrounding materials move. Look for a visible gap between the bead and one side of the joint, a crack running through the bead, sections that have pulled loose, or caulk that has become brittle or visibly deteriorated. A gap that returns soon after repair may point to movement, moisture, or a joint that needs a different fix.
Note whether the separation is from one surface or through the bead, but do not assume the appearance proves the cause.
Look beyond the sealant for soft, swollen, loose, or damaged siding, staining, peeling finish, or a musty indoor odor. These signs warrant investigation rather than another bead. Water can travel within an exterior assembly, so the nearest caulk line may not be the leak source.
Caulk belongs on specific joints, not over broad areas or loose siding, and it does not replace flashing. If you see water intrusion or damage, consider an assessment before a surface repair. See this guide to repairing wood house siding.
How often does siding caulking maintenance need attention in Puget Sound?
There is no single inspection interval that fits every home. The age and condition of the siding, exposure to wind-driven rain, sun, and the quality of earlier work all matter. As a practical habit, look over accessible joints during routine exterior checks and again after severe weather or when you notice water getting in. A visual check does not require removing or probing the caulk.
If a gap grows, a new crack appears, or the joint separates after a repair, add that observation to your notes. Photos help track condition, but they are not a substitute for an inspection when water or material damage is present.
Pay closer attention to joints that receive direct weather exposure or have failed before. Compare them with sheltered areas. If the same section repeatedly opens, treat that as a clue that the cause may be more than an aging surface bead. A professional can examine the assembly and determine whether the joint, siding, trim, or flashing needs attention.
For homes with cedar siding, surface care and joint condition are separate considerations. This article focuses on sealant at joints, not a full siding-care schedule.
Can you recaulk a siding joint yourself?
A small, accessible joint may appear simple to repair, but first confirm that the location is meant to be sealed and that the underlying materials are sound. The right sealant and preparation depend on the siding material, joint design, and manufacturer’s instructions. Using an incompatible product or sealing a drainage path can create a new problem.
If a homeowner is considering a minor repair, take these steps before opening a sealant tube:
- Identify the joint. Note what two surfaces meet and whether it is a trim transition, a penetration, or a seam within the siding. Check available siding and sealant instructions. If those details are unclear, pause instead of guessing.
- Check the surrounding material. Look for movement, softness, rot, staining, or loose trim. A bead cannot repair damage behind or beside it. If any of these conditions are present, seek an assessment first.
- Plan safe access. Limit DIY work to a stable, reachable location. Do not lean out of a window or climb onto a roof, and do not use a ladder if you lack the training and equipment to do so safely.
- Follow the product directions. If the joint is appropriate for repair and the surface is sound, follow the manufacturer’s instructions for removing old material, cleaning, drying, application temperature, tooling, and curing. Requirements can differ by product and surface.
- Recheck the area. After the product’s stated cure period, inspect the bead visually. Keep a dated photo and note any subsequent separation or moisture. A recurring failure calls for finding the underlying cause, not layering on more material.
Do not apply new caulk over loose or dirty material. Avoid aggressive scraping, pressure washing, or pulling siding and trim apart to investigate a leak. A neat surface repair can still conceal a drainage or flashing problem.
Older exterior materials require added caution. The Puget Sound Clean Air Agency’s guidance on cement asbestos siding discusses pressure washing only under conditions where low pressure is used and the siding is not disturbed. If you suspect asbestos-containing siding, do not scrape, sand, cut, or otherwise disturb it as part of caulk work; seek qualified guidance on the material and appropriate next steps.
If the surface is wet, deteriorated, difficult to access, or the joint’s purpose is unclear, leave the repair to a qualified professional. The company’s roofing, siding, and window FAQs provide general homeowner information.
When is professional siding repair the better choice?
Ask for professional help when water is entering the home, the same caulk joint keeps opening, siding or trim is loose or damaged, or the repair is above a safe reach. A professional assessment can help distinguish a failed sealant bead from a flashing issue, movement, or a larger siding concern. Replacing the bead without identifying the cause may only provide a temporary cover.
Get an assessment when multiple joints are deteriorating. Repair and replacement are different decisions, so an inspection can clarify whether targeted work is practical. If a larger project may be needed, review the siding replacement process.
For an assessment, describe what you noticed, when it began, whether rain makes it worse, and whether the problem is isolated or appears at several joints. Ground-level photos can show progression.
Ask whether the recommendation addresses only the failed bead or also trim, flashing, or damaged siding. A clear scope should explain how drainage will be maintained and whether the work covers one joint or a broader section.
How do common caulk conditions compare?
The same visible defect can have more than one cause. Use this guide to organize observations and choose a reasonable next step; it is not a remote diagnosis.
| What you see | What it may mean | Practical next step |
|---|---|---|
| Small isolated crack in an accessible bead | The sealant may be aging or losing flexibility | Confirm the joint is meant to be sealed and check product and siding instructions before repair |
| Caulk separated from one side | Adhesion may have failed, or the joint may be moving | Check whether the separation is recurring; seek an assessment if it returns |
| Repeated gap, staining, or water indoors | There may be a deeper moisture or flashing issue | Arrange a professional evaluation instead of covering the area |
| Soft, swollen, or loose siding near the joint | The siding or material behind it may be damaged | Do not rely on caulk alone; have the assembly inspected |
| Older siding that may contain asbestos | Disturbing the material could create a safety concern | Do not scrape or cut it; seek qualified guidance before work |
What should you remember about siding caulk?
Caulk maintenance starts with knowing where the joint is and what it is meant to do. Inspect accessible transitions, note changes, and look for signs beyond the bead itself. Avoid sealing openings designed for drainage, and do not use caulk to disguise damaged siding or a recurring leak. When the cause is unclear, a professional assessment is safer than repeated patching.
Record the location, visible condition, and whether rain or a previous repair changed the appearance. That gives a contractor a clearer starting point without asking you to disturb the siding.
Schedule a siding inspection to discuss a failed joint, visible siding damage, or recurring water concerns.
What are the most common siding caulking questions?
Should every siding seam be caulked?
No. Some joints are designed to allow movement or drain water. Seal only locations called for by the siding system and installation details; sealing every seam can interfere with how the exterior manages moisture.
Can I put new caulk over an old bead?
Adding a new layer over loose, dirty, or failed sealant may not create a reliable bond. The right preparation depends on the sealant and joint. Follow the product instructions, and get help if the old bead is difficult to remove or the surface is damaged.
Does a crack in caulk always mean the siding is failing?
No. A crack can reflect an aging bead or movement at the joint, but it does not identify the cause by itself. Check for recurring separation, damaged siding, staining, or water entry, and have those concerns assessed.
Can I power-wash around siding caulk?
Do not use high-pressure washing as a way to clean or test a caulk joint. Pressure and water intrusion can damage materials or force water where it should not go. Follow the siding manufacturer’s care instructions, and use extra caution with older siding that may contain asbestos.
When caulk failure repeats or moisture appears, inspect the whole transition rather than treating the bead as the only issue.