
Date
Wed Sep 23Rain can enter at a small gap where roofing meets a chimney, wall, vent, or roof edge. In the Puget Sound’s wet conditions, those junctions deserve attention, especially after wind-driven rain. A ceiling stain or damp attic area may raise concern, but the mark alone does not identify the source; water can travel before it appears indoors. An inspection can consider flashing alongside nearby roof penetrations, drainage, and signs of active or past leaks.
Request a roof repair assessment if you have noticed a leak or visible flashing damage.
If an inspection confirms a loose, corroded, or poorly fitted detail, roof flashing repair may address the problem without assuming the entire roof needs replacement. The right scope depends on the flashing condition and the roofing around it.
To understand which details matter, start with the job flashing performs wherever roof surfaces meet openings, walls, and edges.
What does roof flashing protect?
Roof flashing is a material installed at joints and edges to guide water away from places where roofing meets another surface. It helps keep rain from entering at vulnerable transitions, rather than relying on exposed sealant alone. Flashing works as part of the home’s drainage plane: its pieces should direct water outward and over the layer below, much like overlapping shingles. The Insurance Institute for Business & Home Safety explains flashing’s role at roof edges and penetrations. The University of Minnesota Extension describes how drainage-plane layers should overlap to move water outward.
Common flashing locations include:
- Roof edges: Drip-edge flashing projects outward to control where water drips and help protect the components beneath the edge.
- Valleys: A lining follows the downward channel where two roof planes meet, guiding runoff along the junction.
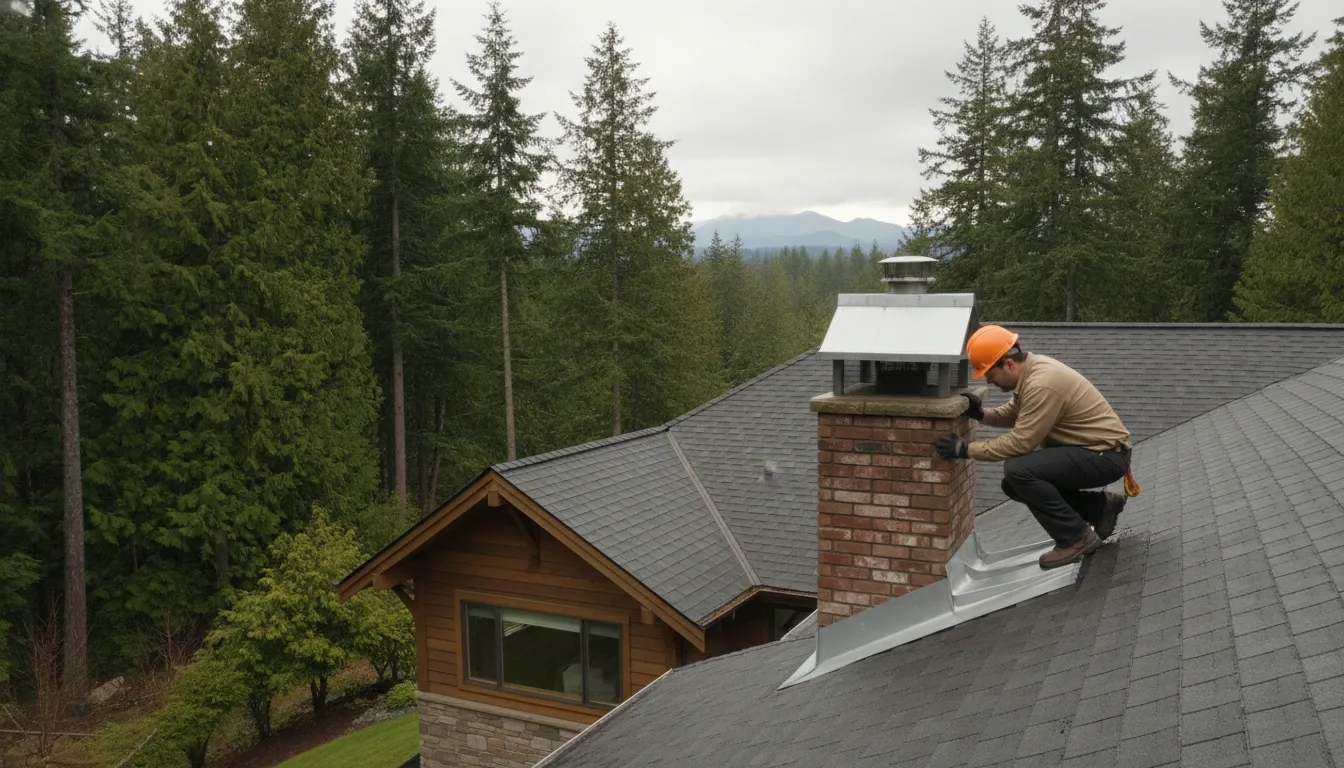
- Chimneys and walls: Flashing helps manage the transition where a roof meets a vertical surface. Counter flashing covers and protects the upper edge of base flashing and its fasteners.
- Roof penetrations: Pipes and other openings interrupt the roof surface, so their transitions need a detail that directs water around and away from the opening.
Each junction has a different shape and exposure, so the flashing detail varies. If you are unsure which component is involved, see what a professional roof inspection checks. General flashing guidance does not apply identically to every roof detail.
IBHS roof flashing guidance; University of Minnesota Extension drainage-plane guidance.
Which signs can point to flashing trouble?
A recurring damp spot near a chimney, exterior wall, or roof junction can justify a closer inspection. Those areas often rely on flashing to direct water away, and wet spots near a chimney or outside wall may be associated with defective, narrow, or loose flashing. But a ceiling stain cannot identify the source by itself. Water can travel along roof framing before it appears indoors, so the stain may be some distance from the opening.
Interior clues and roofline clues
Inside, note where a stain or damp area appears and whether it returns after rain. A drip trail in an accessible attic may offer another clue, but avoid entering a cramped or unsafe space. A University of Wisconsin Extension roof-leak guide cautions that the ceiling spot is rarely directly below the leak.
From the ground, binoculars can help you look for flashing that appears corroded, loose, or displaced around valleys and dormer junctions. Do not climb onto the roof or try to reseal or refasten anything. Even when flashing looks intact, water or snow collecting above it, ice at the eaves, wind damage, or clogged drainage can contribute to leaks. These possibilities are why a visible stain or roofline clue should prompt diagnosis, not a conclusion that flashing is definitely the cause. A qualified inspection can assess the flashing and nearby roof details together. University of Minnesota Extension explains how improperly overlapped drainage-plane components can direct water inward.
Why does Puget Sound weather put flashing details under stress?
Rain does not always fall straight down. Wind can drive water against roof-to-wall joints, chimneys, and other flashing details, testing whether overlapping layers guide it back onto the roof. In a persistently wet season, a small gap may get repeated exposure before the surface has a chance to dry. Water or snow that collects above flashing can contribute to a leak, though that does not by itself prove the flashing has failed. Checking roof flashing before winter can help homeowners include these details in seasonal roof observations.
Wind can also move roofing components or stress an already loose detail. Temperature changes bring repeated expansion and contraction in roof materials; at a joint, that movement may add strain to fasteners or sealant. The degree of stress depends on the roof’s materials, installation, and exposure, so Puget Sound weather is context, not proof of a defect unique to this region.
Moisture and debris can matter where they slow drainage or keep a roof detail damp. The key question is whether water can still travel over the flashing and away from the home. An inspection can distinguish weather exposure from a specific condition that calls for roof flashing repair.
Can roof flashing be repaired, or does it need replacement?
The right scope depends on the flashing’s condition and how it fits with the surrounding roofing. If a small area is loose but the material and water-shedding detail remain serviceable, an assessment may find that limited refastening or resealing is appropriate. Those approaches are not a reliable answer for every leak, especially if the flashing is cracked, corroded, or incorrectly installed.
Replacement may make more sense when the flashing itself is deteriorated, damaged, or cannot be integrated properly with the adjoining roof. The extent of work can also depend on access: reaching flashing correctly may require lifting or replacing nearby shingles. That does not automatically mean the surrounding roof needs replacement; a localized flashing problem should be evaluated on its own rather than treated as proof of whole-roof failure.
| Observed condition | Possible scope to discuss |
|---|---|
| Flashing is secure and intact, with a limited sealant issue | Ask whether a compatible reseal is appropriate and what underlying conditions were ruled out. |
| A small area is loose, while surrounding materials remain serviceable | Ask whether the detail can be secured correctly and what caused it to loosen. |
| Flashing is cracked, corroded, missing, or poorly integrated | Ask whether replacing the affected section is needed and how nearby roofing will be handled. |
A visual clue alone cannot settle the choice. A roofer needs to assess the specific roof detail, adjacent materials, and any signs of moisture beyond the exposed surface. A professional roof inspection can help identify whether the issue is limited to a repairable connection or calls for replacement of that flashing section. The recommendation should reflect observed conditions, not a blanket rule that every loose edge gets sealant or every leak requires new flashing.
What should a roof flashing repair estimate include?
A useful estimate identifies the flashing location and explains what the inspection found. It should describe whether the proposed work is a repair or replacement, and why that scope fits the condition of the flashing. Access can involve lifting or removing nearby shingles or other roof material. The proposal should state what will be moved and how it will be put back.
Ask how the roofer will handle possible concealed damage. If damaged decking or other issues are discovered after work begins, the estimate should explain how the finding will be documented. It should also explain how any added work will be reviewed with you before proceeding. The written proposal should break out planned materials and labor, give an expected timeline, and spell out applicable warranty terms without implying a guarantee beyond the stated coverage.
Compare estimates by the diagnosis and work included, not only by the final figure. The scope should make clear what is covered and what would require your approval as a change. For broader repair estimate factors, see roof repair estimates in Puget Sound.
Request a roof inspection and repair estimate from Landmark.
What can homeowners check safely before calling?
Stay on the ground and use binoculars if you want a closer look. From a safe spot, note any flashing that appears loose, displaced, or corroded. But do not climb a ladder or step onto the roof to confirm what you see. A visual clue can help describe the concern; it cannot show how the flashing is installed beneath the roofing.
Indoors, look for new ceiling or wall stains, damp areas, or drips. Record which room is affected, when you first noticed it, and whether it appeared during or after rain. A ceiling stain does not necessarily sit directly below the roof opening, so avoid assuming it identifies the source.
Share your observations and photos taken safely from the ground with a roofer, and leave closer inspection and any repair work to them. See what a professional roof inspection checks before scheduling.
Frequently Asked Questions
Can flashing be repaired without replacing the roof?
Often, a problem limited to one flashing detail can be assessed and addressed without replacing the entire roof. The decision depends on the flashing’s condition, the surrounding roofing, and whether inspection reveals damage beneath the surface. A localized concern alone does not establish that the whole roof needs replacement.
Does a leak near a chimney always mean the flashing has failed?
No. Flashing is one possible source, but water can travel before it appears indoors, so a ceiling stain may not sit directly below the entry point. A roofer can inspect the chimney area and nearby roof details to identify the likely source rather than relying on the stain alone.
Will caulk stop a flashing leak?
Not necessarily. The right repair depends on the flashing material, roof type, and nature of the leak. A surface seal may not address loose, corroded, displaced, or incorrectly layered flashing. Have the detail assessed before deciding what repair is appropriate.
Can flashing be repaired without replacing nearby shingles?
Sometimes, but access determines the scope. Some work may be possible without removing shingles; other repairs require lifting or replacing nearby roofing to reach and correctly address the flashing. An estimate should explain which surrounding materials may need to be moved or replaced.
What should I do if I suspect a flashing leak?
Note where and when you see moisture, and check visible areas from indoors or from the ground. Do not climb onto a wet or steep roof or attempt a repair. A professional inspection can help distinguish a flashing problem from another source and identify any needed work.
Ready to discuss roof flashing concerns?
A roof inspection can help clarify whether the visible signs point to flashing or another issue, and what repair scope may be appropriate. Request an inspection and repair estimate through Landmark’s roof repair page.